Crawling
react nodejs환경 세팅
https://velog.io/@sae1013/React-%EC%99%80-Node.js-%EC%97%B0%EB%8F%99%ED%95%98%EA%B8%B0
참고하여 세팅
node.js 폴더에서
server.js파일을 만들고
const express = require("express");
const path = require("path");
const cors = require("cors");
const app = express();
const axios = require("axios");

const server = require("http").createServer(app);

app.use(cors()); // cors 미들웨어를 삽입합니다.

app.get("/", (req, res) => {
  // 요청패스에 대한 콜백함수를 넣어줍니다.

  axios.get(`https://thebook.io/080212`).then((dataa) => {
    // const result = JSON.stringify(dataa);
    console.log(dataa);
    res.send({ message: "hello", data: dataa.data });
  });
});

server.listen(8080, () => {
  console.log("server is running on 8080");
});
을 입력
axios를 이용하여 원하는 url에서 data를 받아와 dataa에 저장한다.
dataa를 콘솔에 출력해보면

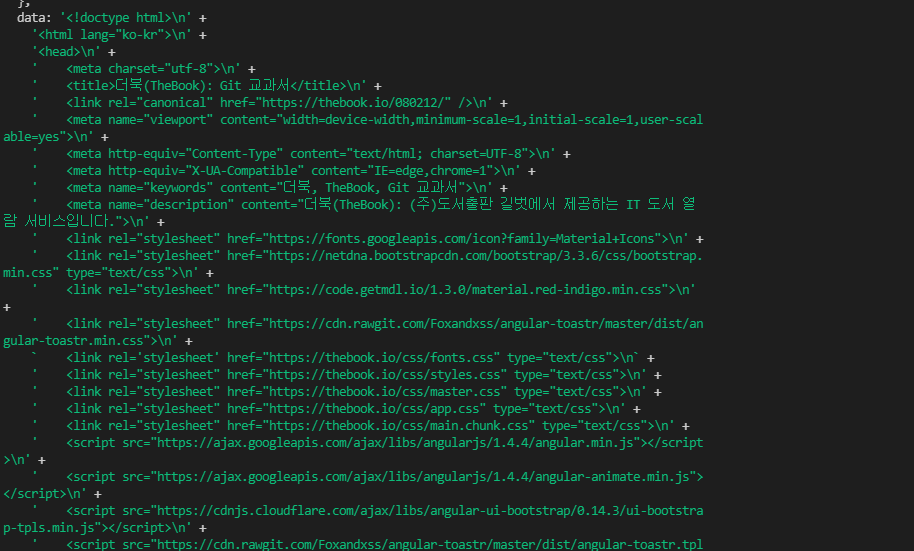
의 형태인 object가 출력이 된다.
원하는 크롤링 데이터는 data에 있기 때문에 dataa.data만 보내주면
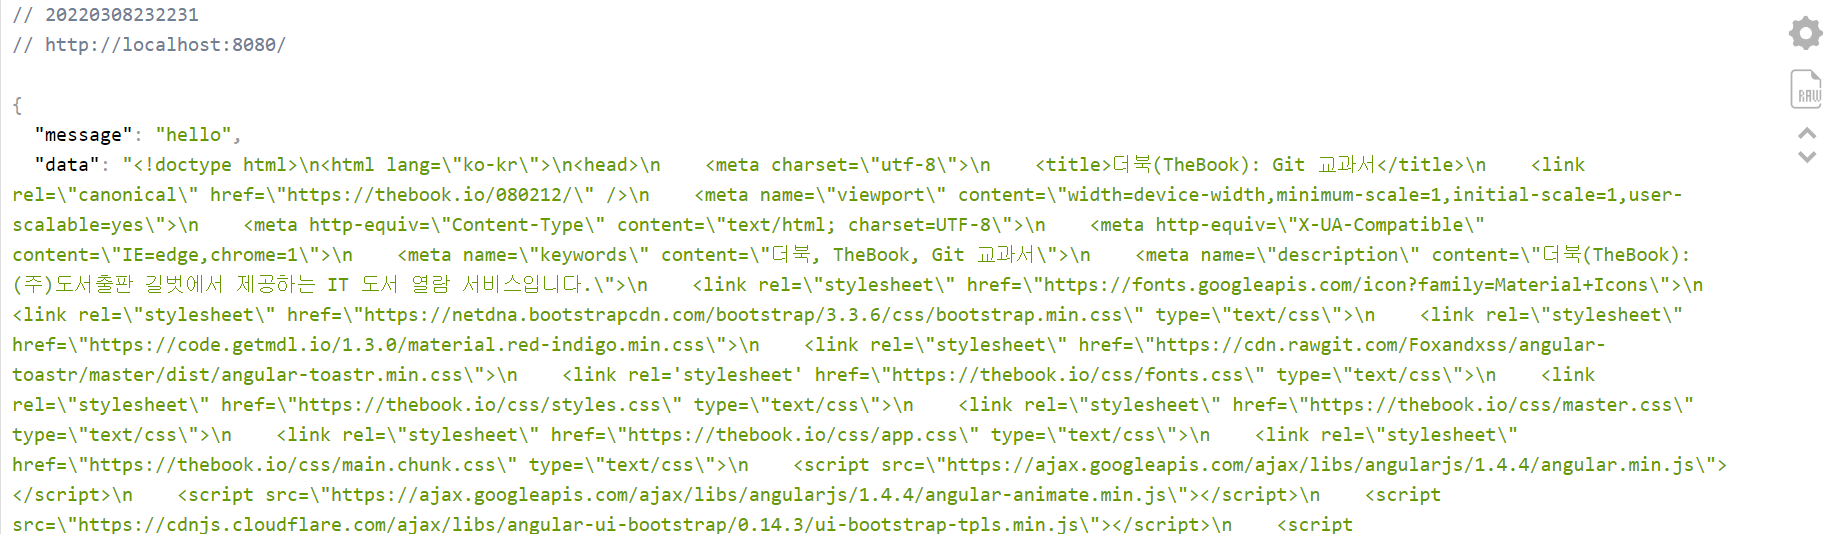
이러한 화면을 확인할수 있다.
react 에서
App.js
import "./App.css";
import axios from "axios";
import React, { useState, useEffect } from "react";

function App() {
  const sendRequest = async () => {
    const response = await axios.get("http://localhost:8080");
    console.log(response);
    console.log(response.data);
  };

  useEffect(() => {
    sendRequest();
  });

  return <div className="App"></div>;
}

export default App;
이렇게 파일을 쓰고 실행시킨 뒤 콘솔을 확인해 보면
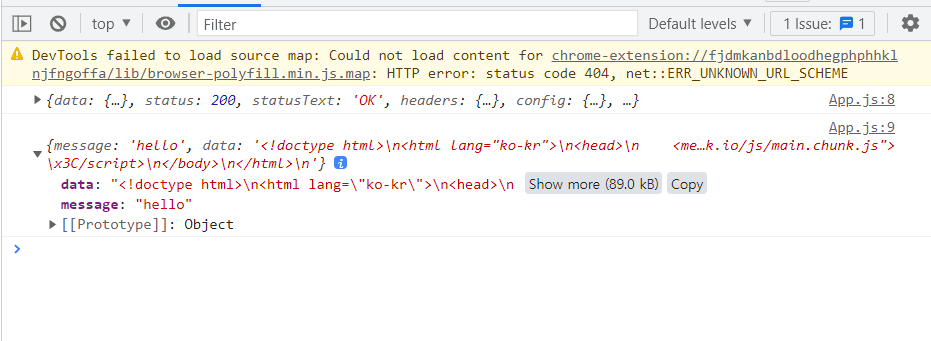
data에 원하는 크롤링 데이터가 있는 것을 확인해 볼수 있다!
cheerio 이용한 크롤링
node.js의
server.js
const express = require("express");
const path = require("path");
const cors = require("cors");
const app = express();

const axios = require("axios");
const cheerio = require("cheerio");

const server = require("http").createServer(app);

app.use(cors()); // cors 미들웨어를 삽입합니다.

app.get("/", (req, res) => {
  // 요청패스에 대한 콜백함수를 넣어줍니다.

  let $href = [];
  axios.get(`https://thebook.io/080212`).then((dataa) => {
    const $ = cheerio.load(dataa.data);
    //원하는 데이터 filtering
    $("section.book-toc>ul>li>a").each((index, item) => {
      $href.push(item.attribs.href);
    });
    console.log($href);
    res.send({ message: "hello", data: $href });
  });
  // axios.get(`https://thebook.io/080212`).then((dataa) => {
  //   // const result = JSON.stringify(dataa);
  //   console.log(dataa);
  //   res.send({ message: "hello", data: dataa.data });
  // });
});

server.listen(8080, () => {
  console.log("server is running on 8080");
});
파일을 위와 같이 적고
$href를 콘솔에 출력해보면 원하는 목차 리스트를 얻을 수 있다.
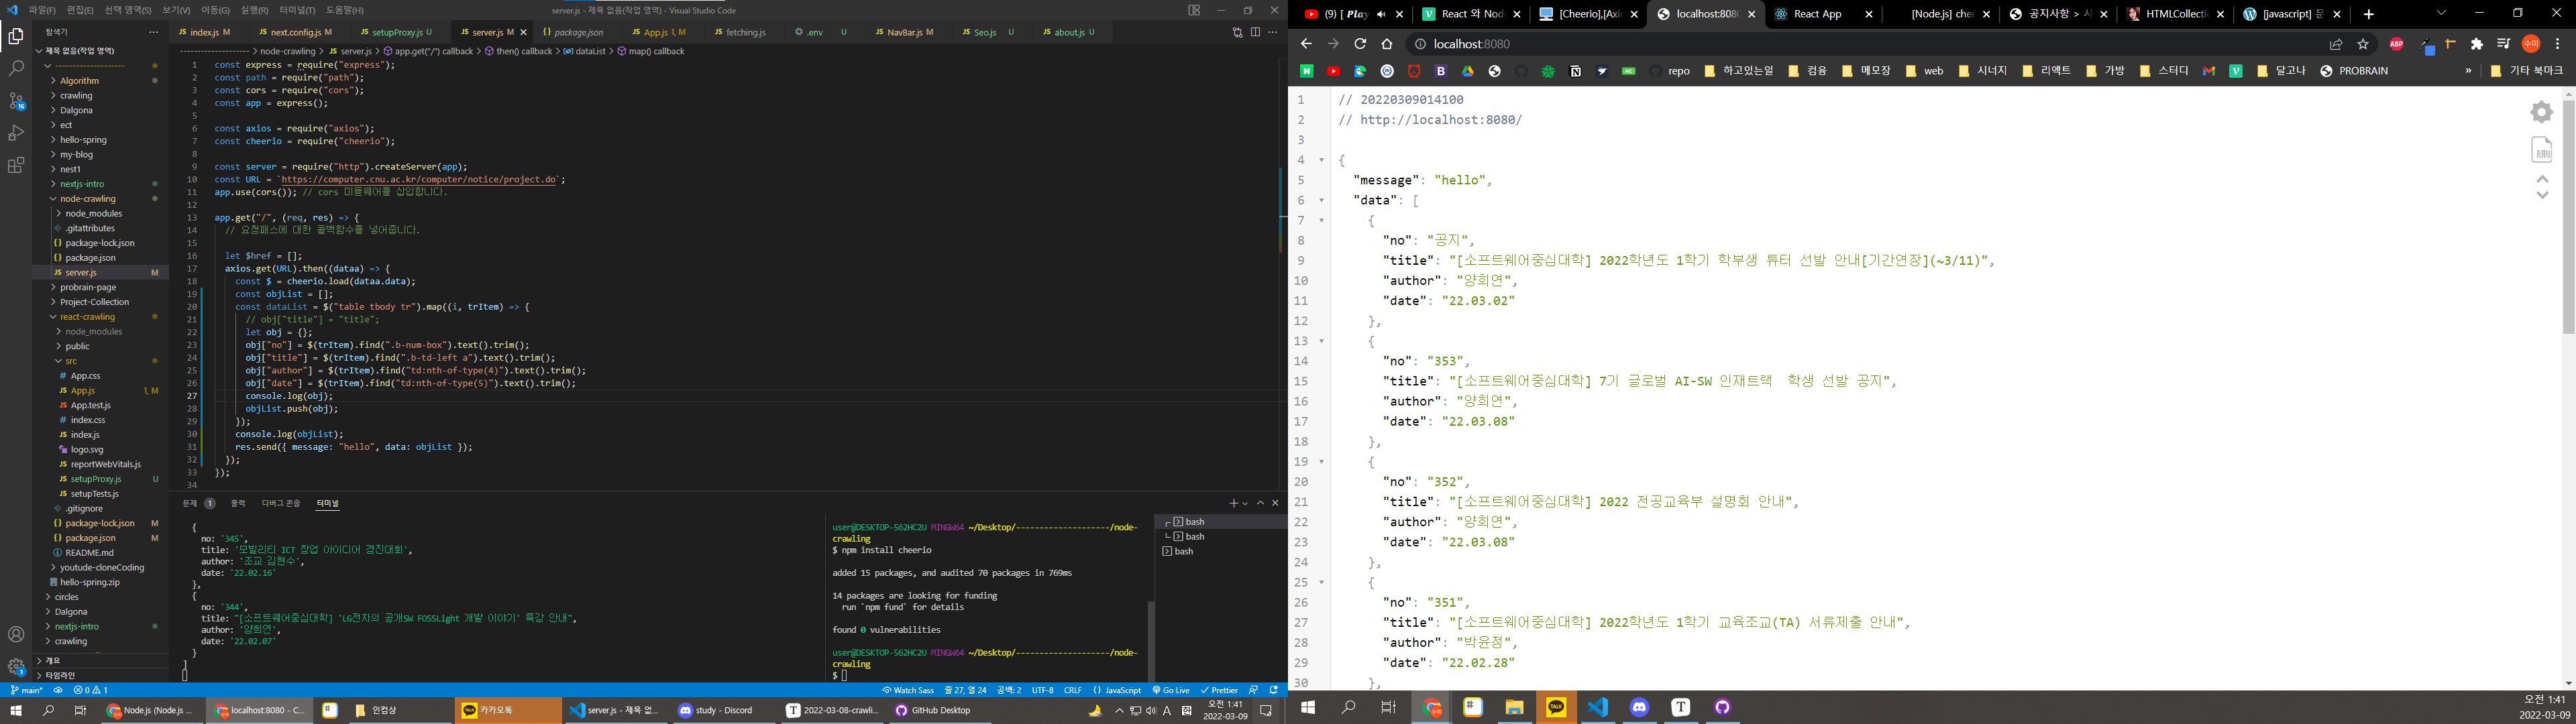
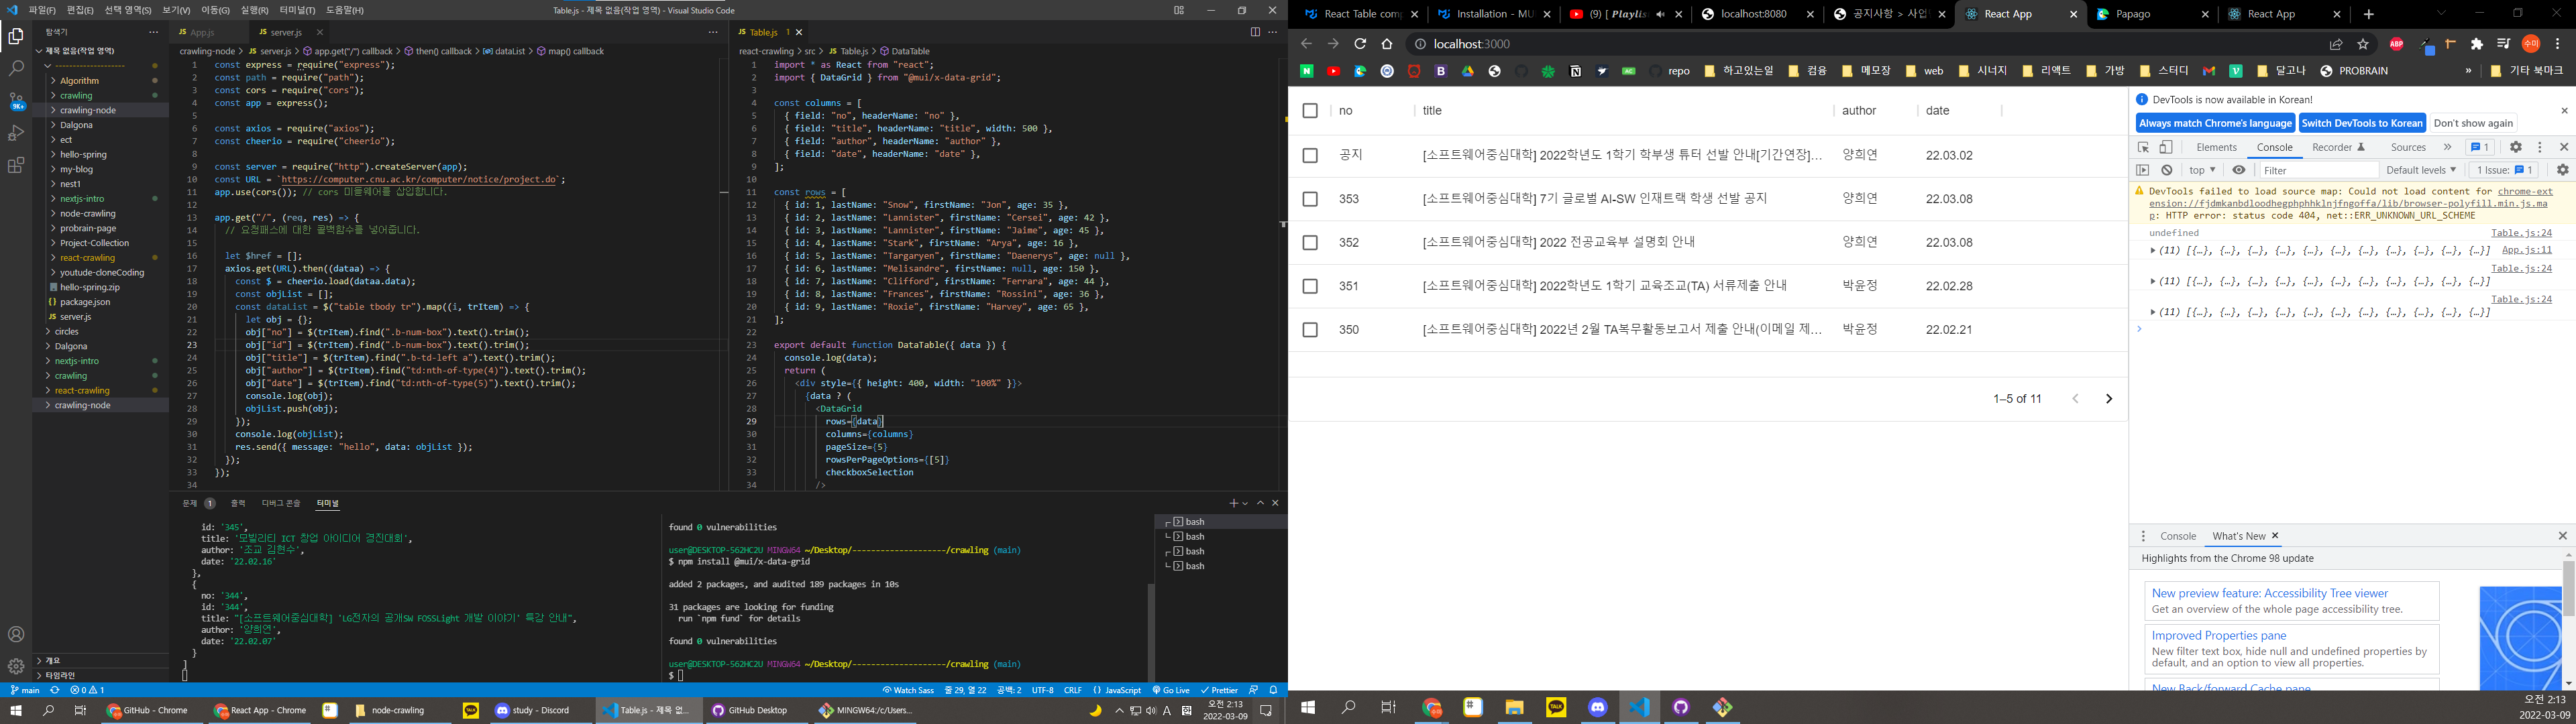
학사공지 크롤링
목표는 학교 홈페이지의 학사 공지를 크롤링 해오는 것이였다.
학사공지 페이지에서 html구조를 파악한후에 값을 객체에 넣어서 콘솔에 출력해보았다.
참고사이트 : https://data-make.tistory.com/436
최종
node.js 폴더의 server.js
const express = require("express");
const path = require("path");
const cors = require("cors");
const app = express();

const axios = require("axios");
const cheerio = require("cheerio");

const server = require("http").createServer(app);
const URL = `https://computer.cnu.ac.kr/computer/notice/project.do`;
app.use(cors()); // cors 미들웨어를 삽입합니다.

app.get("/", (req, res) => {
  // 요청패스에 대한 콜백함수를 넣어줍니다.

  let $href = [];
  axios.get(URL).then((dataa) => {
    const $ = cheerio.load(dataa.data);
    const objList = [];
    const dataList = $("table tbody tr").map((i, trItem) => {
      let obj = {};
      obj["no"] = $(trItem).find(".b-num-box").text().trim();
      obj["id"] = $(trItem).find(".b-num-box").text().trim();
      obj["title"] = $(trItem).find(".b-td-left a").text().trim();
      obj["author"] = $(trItem).find("td:nth-of-type(4)").text().trim();
      obj["date"] = $(trItem).find("td:nth-of-type(5)").text().trim();
      console.log(obj);
      objList.push(obj);
    });
    console.log(objList);
    res.send({ message: "hello", data: objList });
  });
});

server.listen(8080, () => {
  console.log("server is running on 8080");
});
react 폴더의
App.js
import "./App.css";
import axios from "axios";
import React, { useState, useEffect } from "react";
import DataTable from "./Table";

function App() {
  const [dataList, setDataList] = useState();
  const sendRequest = async () => {
    const response = await axios.get("http://localhost:8080");
    // console.log(response);
    console.log(response.data.data);
    const data = response.data.data;
    return data;
  };

  useEffect(() => {
    sendRequest().then((result) => setDataList(result));
  }, []);

  return (
    <div className="App">
      <DataTable data={dataList}></DataTable>
    </div>
  );
}

export default App;
Table.js
import * as React from "react";
import { DataGrid } from "@mui/x-data-grid";

const columns = [
  { field: "no", headerName: "no" },
  { field: "title", headerName: "title", width: 500 },
  { field: "author", headerName: "author" },
  { field: "date", headerName: "date" },
];

const rows = [
  { id: 1, lastName: "Snow", firstName: "Jon", age: 35 },
  { id: 2, lastName: "Lannister", firstName: "Cersei", age: 42 },
  { id: 3, lastName: "Lannister", firstName: "Jaime", age: 45 },
  { id: 4, lastName: "Stark", firstName: "Arya", age: 16 },
  { id: 5, lastName: "Targaryen", firstName: "Daenerys", age: null },
  { id: 6, lastName: "Melisandre", firstName: null, age: 150 },
  { id: 7, lastName: "Clifford", firstName: "Ferrara", age: 44 },
  { id: 8, lastName: "Frances", firstName: "Rossini", age: 36 },
  { id: 9, lastName: "Roxie", firstName: "Harvey", age: 65 },
];

export default function DataTable({ data }) {
  console.log(data);
  return (
    <div style=>
      {data ? (
        <DataGrid
          rows={data}
          columns={columns}
          pageSize={5}
          rowsPerPageOptions={[5]}
          checkboxSelection
        />
      ) : (
        ""
      )}
    </div>
  );
}
table은 mui를 사용해서 구현
kakao 페이지 크롤링
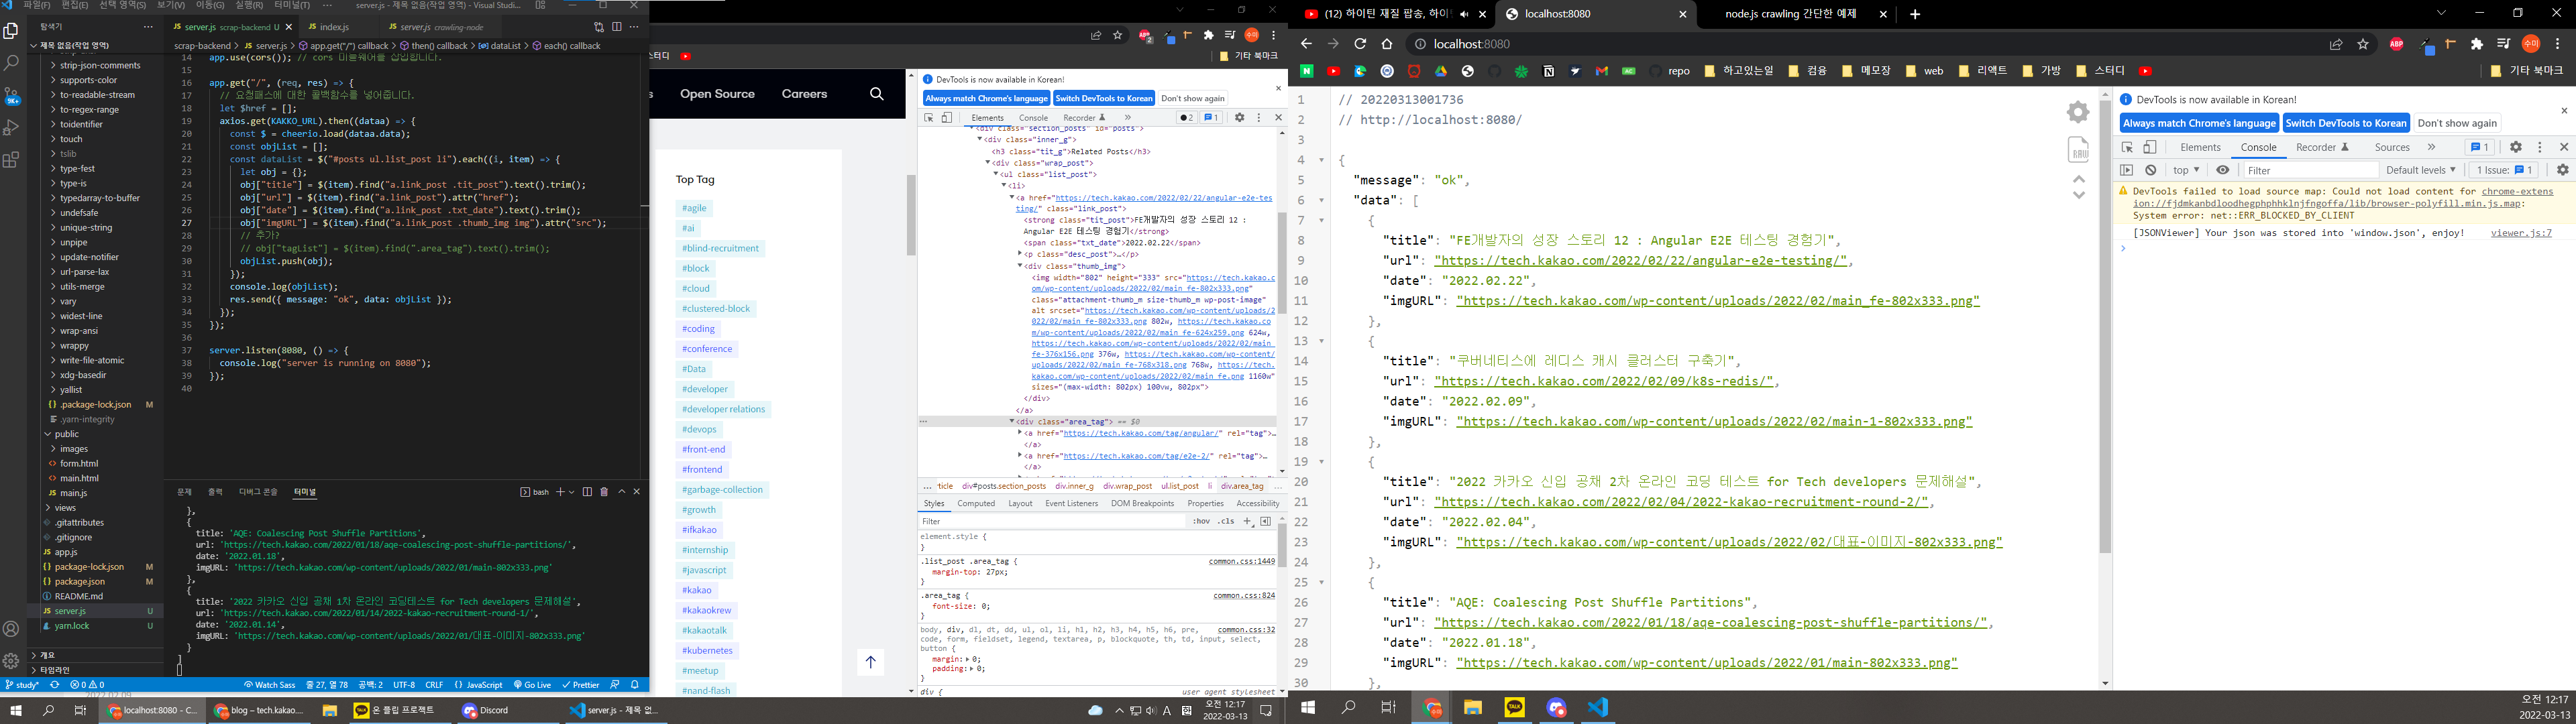
소스코드
server.js
//express, axios, cheerio, cors 설치
const express = require("express");
const path = require("path");
const cors = require("cors");
const app = express();

const axios = require("axios");
const cheerio = require("cheerio");

const server = require("http").createServer(app);
const KAKKO_URL = "https://tech.kakao.com/blog/";
const URL = `https://computer.cnu.ac.kr/computer/notice/project.do`;

app.use(cors()); // cors 미들웨어를 삽입합니다.

app.get("/", (req, res) => {
  // 요청패스에 대한 콜백함수를 넣어줍니다.
  let $href = [];
  axios.get(KAKKO_URL).then((dataa) => {
    const $ = cheerio.load(dataa.data);
    const objList = [];
    const dataList = $("#posts ul.list_post li").each((i, item) => {
      let obj = {};
      obj["title"] = $(item).find("a.link_post .tit_post").text().trim();
      obj["url"] = $(item).find("a.link_post").attr("href");
      obj["date"] = $(item).find("a.link_post .txt_date").text().trim();
      obj["imgURL"] = $(item).find("a.link_post .thumb_img img").attr("src");
      // 추가?
      // obj["tagList"] = $(item).find(".area_tag").text().trim();
      objList.push(obj);
    });
    console.log(objList);
    res.send({ message: "ok", data: objList });
  });
});

server.listen(8080, () => {
  console.log("server is running on 8080");
});
