image processing - 실습 5주차
Edge detection
sobel filter
import numpy as np

def get_sobel():
    derivative = np.array([[-1,0,1]])
    blur = np.array([[1],[2],[1]])

    x = np.dot(blur,derivative)
    y = np.dot(derivative.T,blur.T)

    return x,y

def main():
    sobel_x,sobel_y = get_sobel()
    print('sobel_x')
    print(sobel_x)

    print('sobel_y')
    print(sobel_y)
결과
sobel_x
[[-1  0  1]
 [-2  0  2]
 [-1  0  1]]
sobel_y
[[-1 -2 -1]
 [ 0  0  0]
 [ 1  2  1]]
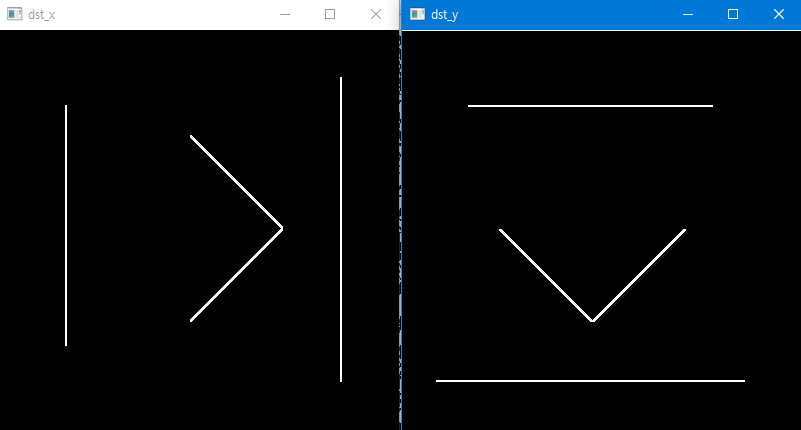
- sobal 실습 2
def main():
    sobel_x,sobel_y = get_sobel()

    src = cv2.imread('../imgs/lena.png', cv2.IMREAD_GRAYSCALE)
    # src = src.astype(np.float32)
    dst_x = my_filtering(src,sobel_x,'zero')
    dst_y = my_filtering(src,sobel_y,'zero')

    dst_x = np.clip(dst_x,0,255).astype(np.uint8)
    dst_y = np.clip(dst_y,0,255).astype(np.uint8)

    cv2.imshow('dst_x', dst_x)
    cv2.imshow('dst_y ', dst_y)
    cv2.waitKey()
    cv2.destroyAllWindows()

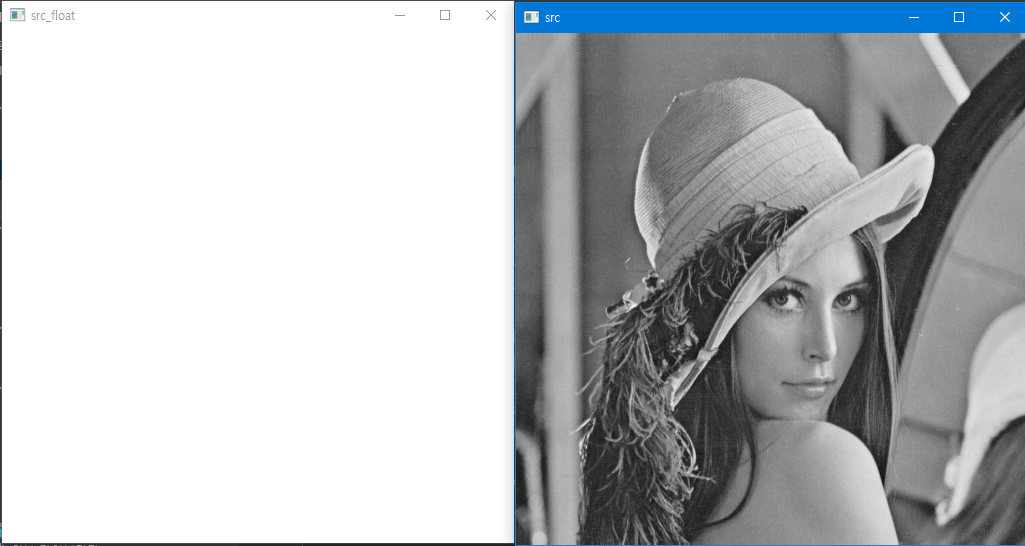
float와 uint의 차이
def main():
    sobel_x,sobel_y = get_sobel()

    src = cv2.imread('../imgs/lena.png', cv2.IMREAD_GRAYSCALE)
    src_float = src.astype(np.float32)

    cv2.imshow('src', src)
    cv2.imshow('src_float ', src_float)
    cv2.waitKey()
    cv2.destroyAllWindows()
if __name__=='__main__':
    main()
-
Data type
-
unit8 : 0 ~255
- 0 : 검정색
- 255 : 흰색
-
float : 0~1
- 0 : 검정색
-
1 : 흰색
- 1이상은 모드 1로 취급한다. 또한 0이하도 0으로 취급한다.
-
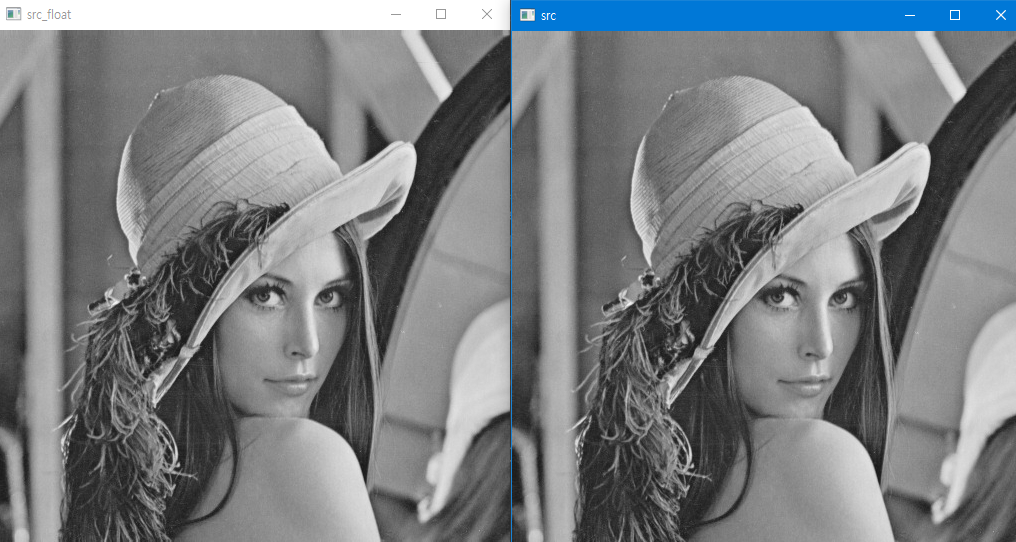
따라서 밑과 같이 코드를 바꾸면 정상적으러 사진이 출력된다.
def main():
    sobel_x,sobel_y = get_sobel()

    src = cv2.imread('../imgs/lena.png', cv2.IMREAD_GRAYSCALE)
    src_float = src.astype(np.float32)
    # dst_x = my_filtering(src,sobel_x,'zero')
    # dst_y = my_filtering(src,sobel_y,'zero')

    # dst_x = np.clip(dst_x,0,255).astype(np.uint8)
    # dst_y = np.clip(dst_y,0,255).astype(np.uint8)

    cv2.imshow('src', src)
    cv2.imshow('src_float ', src_float/255)
    cv2.waitKey()
    cv2.destroyAllWindows()
sobel 실습 2
원래 이미지

def main():
    sobel_x,sobel_y = get_sobel()

    src = cv2.imread('../imgs/edge_detection_img.png', cv2.IMREAD_GRAYSCALE)
    dst_x = my_filtering(src,sobel_x,'zero')
    dst_y = my_filtering(src,sobel_y,'zero')

    cv2.imshow('dst_x', dst_x)
    cv2.imshow('dst_y ', dst_y )
    cv2.waitKey()
    cv2.destroyAllWindows()
실행 결과
코드 수정후
def main():
    sobel_x,sobel_y = get_sobel()

    src = cv2.imread('../imgs/edge_detection_img.png', cv2.IMREAD_GRAYSCALE)
    dst_x = my_filtering(src,sobel_x,'zero')
    dst_y = my_filtering(src,sobel_y,'zero')
    cv2.imshow('src', src)

	----- 수정한 코드
    dst_x = np.sqrt(dst_x**2)
    dst_y = np.sqrt(dst_y**2)

    dst_x + dst_y

    -----
    cv2.imshow('dst_x', dst_x)
    cv2.imshow('dst_y ', dst_y )
    cv2.imshow('dst_x + dst_y ', dst_x + dst_y )
    cv2.waitKey()
    cv2.destroyAllWindows()
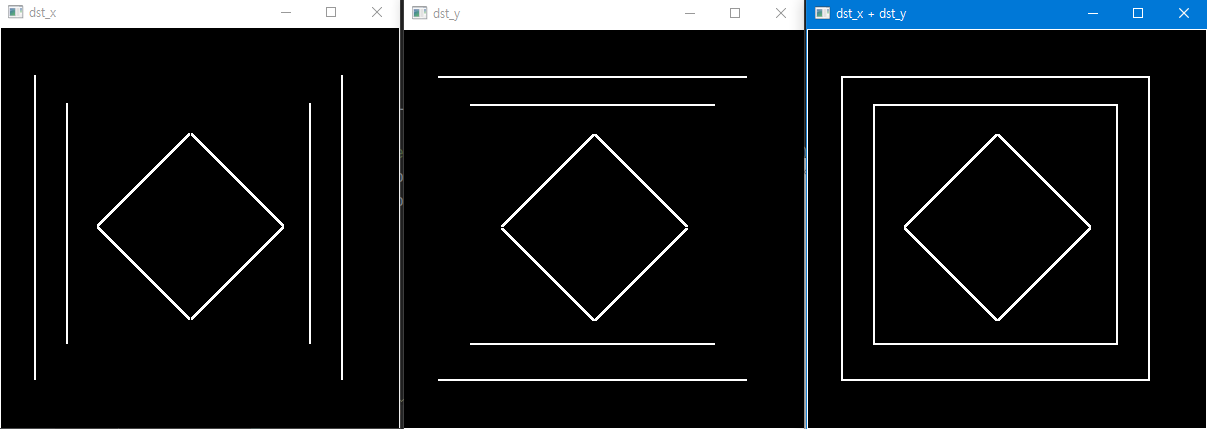
따라서 Data type이 실수일 경우
- 0보다 작은 값도 전부 0과 같은 검은색
- 1보다 큰 값도 전부 1과 같은 흰색
이라는 것을 알수있다.
threshold
-
이진화 : 영상을 흑/백으로 분류하여 처리하는 것
-
이때 기준이 되는 임계값을 threshold value라고 한다.
-
실습 코드
import numpy as np
import cv2
def main():
    src = cv2.imread('../imgs/threshold_test.png', cv2.IMREAD_GRAYSCALE)
    ret,dst = cv2.threshold(src,150,255,cv2.THRESH_BINARY)

    ret1,dst1 = cv2.threshold(src,0,255,cv2.THRESH_OTSU)
    print('ret : ',ret)
    cv2.imshow('original ', src)
    cv2.imshow('threshold ', dst)

    print('ret1 : ',ret1)
    cv2.imshow('threshold auto ', dst1)

    cv2.waitKey()
    cv2.destroyAllWindows()
- 결과 화면
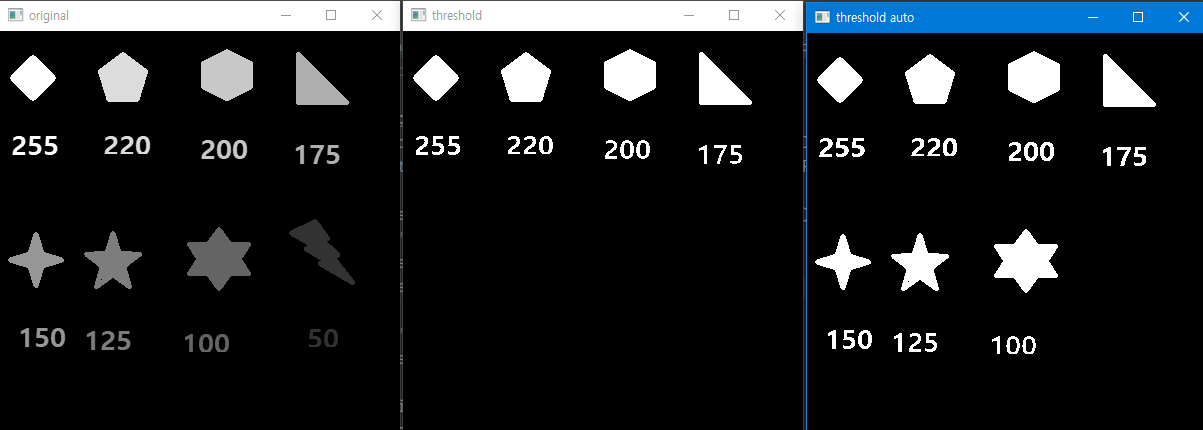
ret :  150.0
ret1 :  85.0
;lnbv
][poiuy]
